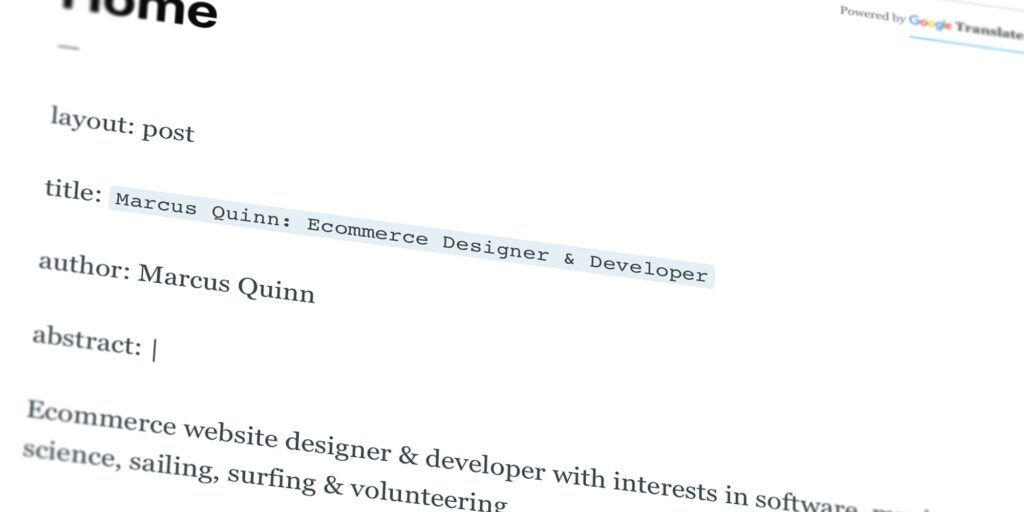
Make your own one-page website, with free hosting for eternity ∞
We will be using the free services of GitLab & GitHub, a simple plain-text editor to write and export your single page index.html, and all without learning HTML!

Making a simple one-page website
The reason for doing this using well-capitalised free services like GitLab & GitHub, is it can stay alive forever on the yourname.git***.io domain — and with no payments ever needed to keep the .io URL versions of your sites live for as long as the internet itself — you can make as many free sites & pages as you like!
It’s also a great way to make a free, and easy to maintain, link-tree page — to include in your social media profile, in a way that you own the data, without any tracking, privacy issues, security worries or card details – ever.
You could make it multipage too – but let’s keep it simple for now, as it’s quite a nice format for that simple link-tree, or a longer article on yourself and your interests.
And just add a Namecheap domain if you want to use your own domain name too, the git***.io domain will still work & live forever alongside, including if ever you stop renewing your own domain for any reason.
GitHub specifically also offers a succession planning feature too — should you wish someone to inherit your work — which is a subject for a longer post another day!
Your eternal website in 10-steps
- Download a copy of my index.md page template from GitLab, or start with a blank text file called
index.md. (In Ulysses, type@:indexon the top-line to set the file name). - Choose your preferred Plain Text & Markdown text editor — this will style and export the HTML for you. I’m using Ulysses, as you may know by now.
- Write and refine all the things you think others might like to know about you and your unique experience.
- Export a copy as HTML called
index.html, using any style template you like. You can use one app to write and another to export, if you like the editor in one and publishing styles in another, that’s the point of Markdown being portable. - Create a free GitLab.com account. On your GitLab profile page click
+to create a new project, this one is calledmarcusquinn.gitlab.ioas the naming convention recognised as your user page. GitHub uses the same convention with their.ioPages domain, eg;marcusquinn.github.io. - To the right of where it says Master, click
+>New File, and upload yourindex.htmlfile,cssfolder andcss.cssfile, andimagesfolder if you have images too. - In your project repository, click
Setup CI/CD>Apply a template>HTML>Commit changes. This deploys your files and page setup. - It’s now live on your
gitlab.io(orgithub.io) URL! - Open the GitLab Pages instructions, where you can find details on what your
gitlab.iolink is (something likehttps://username.gitlab.io), the first part being yourusername– and add the relevant/project-slugif you have other project pages to publish as well. - In your GitLab project, go to
Settings>Pages>New Domainto enter your domain name if you are using one, and follow their guide on how to set up your domain name.
That’s it, your 100% free, easy and secure home page to grow with your learning and audience.
The reason we do this with a static page .html, and not a database driven content-management system, is simple; it requires zero maintenance for it to remain live and secure forever – simply because there’s nothing to hack when the pages and images you upload for public display are the only data on the host.
I’ll add a more detailed step-by-step guide with screenshots for setting up your own domain name using Cloudflare & Namecheap at some point, too. And just contact me if you need a hand.
Source & Downloads
- index.md (written in Ulysses)
- index.html (exported from Ulysses)
- marcusquinn.com.pdf (exported from Ulysses)
My GitLab/GitHub page is just over 3,000 words, 2-days of writing and maybe 1-week refining:
- GitLab – marcusquinn.gitlab.io
- GitHub – marcusquinn.github.io (mirror)
I think worth the effort, for an almost-permanent record of your publishing, for free – and when you’re ready to move onto a full blog like this one, Digital Press & Ghost Posts are here to get you going quickly too.
What will you share now you can easily publish your notes too?
Updates
If you made it this far, maybe you learned something new, and you can now do!
Subscribe for updates to this page and new posts — and let me know how you get on or if there’s anything I can help with?
To follow my online adventures — with commentary on; creative technology, building a brand, ethical business, copywriting, ecommerce, blogging, SEO, data protection, privacy, and online security — find me on X.com…


