macOS setup & preferences 💻
I must have sat at dozens of friends & colleagues’ Macs over the years to help with something. The default setup isn’t always intuitive, organised or fast, so there are a few things we can do to make it a nicer environment to create with.

The first thing I tend to do, to help organise the chaos, is go through the same setup settings I’ve found work well from my years working with Macs — and install some decent apps for security, speed and productivity.
These are the mains ones, and let me know if it helps…
Finder speed
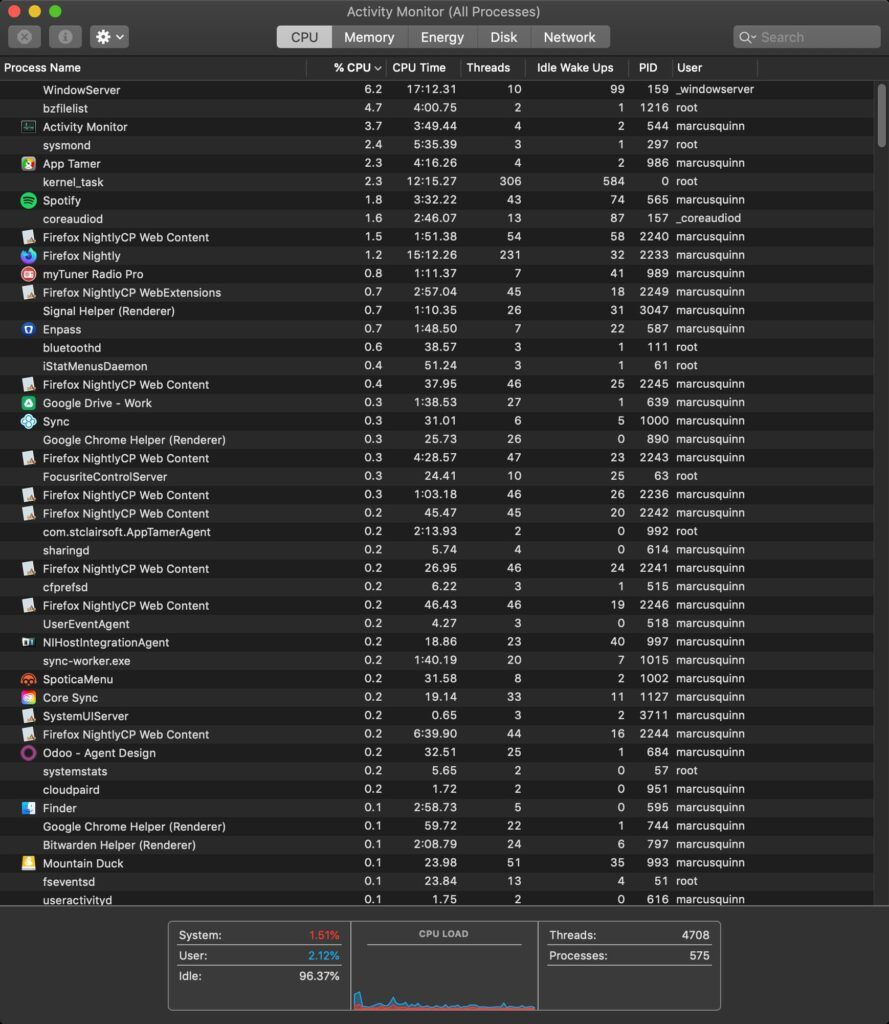
If you’ve had your Mac for a while, there’s a good chance it has some cruft in the preferences. If your Finder is constantly using more than a single-digit CPU in Activity Monitor, it might need a clean-up, so give this a try:
- Create a folder in your ~Home folder called Desktop Archive, and drag everything from your Desktop that isn’t an Alias into that new Desktop Archive folder. Try to regularly clean up your Desktop and use only aliases to files & folders elsewhere.
- Go to ~Home/Library/Preferences/ and delete these files:
com.apple.finder.plist,com.apple.loginwindow.plist, and all thecom.apple.systemuiserver.plistfiles. - Restart… — and let me know if it worked for you too 🙂
Do all this, and here’s the pay-off; this is Activity Monitor on my MacBook with a bunch of applications running, over 300 browser tabs open, and most of the CPU is the Activity Monitor and window taking the screenshot:

Then, save yourself from having numerous Finder windows open. Click View > Show Sidebar, then drag the folder icon from the top-bar of each folder to the Favourites list on the left.
Then you can have just one window open on the left-half of your screen and use the left sidebar to navigate all the folder windows you want to remember, without having to drill-down each time.
If you’re moving files around a lot to get organised, just open another Finder window on the right side of your screen, you’ll find it much easier with just one or two non-overlapping windows open than many layered windows with random sizes and positions 🙂
Preferences
Now you’ve done that, everything is fresh & clean, so let’s get it looking nice too…
- Click on your Desktop > View > Show View Options (command-J)
- Stack by: None
- Sort by: Kind
- Icon size: 16 x 16
- Grid spacing: Max
- Label position: Right
- Click on any Finder window > Change to List View > View > Show View Options (command-J)
- Tick “Always open in list view”
- Stack by: None
- Sort by: Date Added
- Icon size: 16 x 16
- Show Columns: Date Added, Date Modified, Size, Kind
- Untick: Use Relative Dates
- Untick: Calculate all sizes (uses a lot of CPU if ticked)
- Untick: Show icon preview (uses more CPU if ticked)
- Click “Use as defaults”
- Finder > Preferences > General
- Show these items on the Desktop: tick all
- New Finder windows shows: Macintosh HD
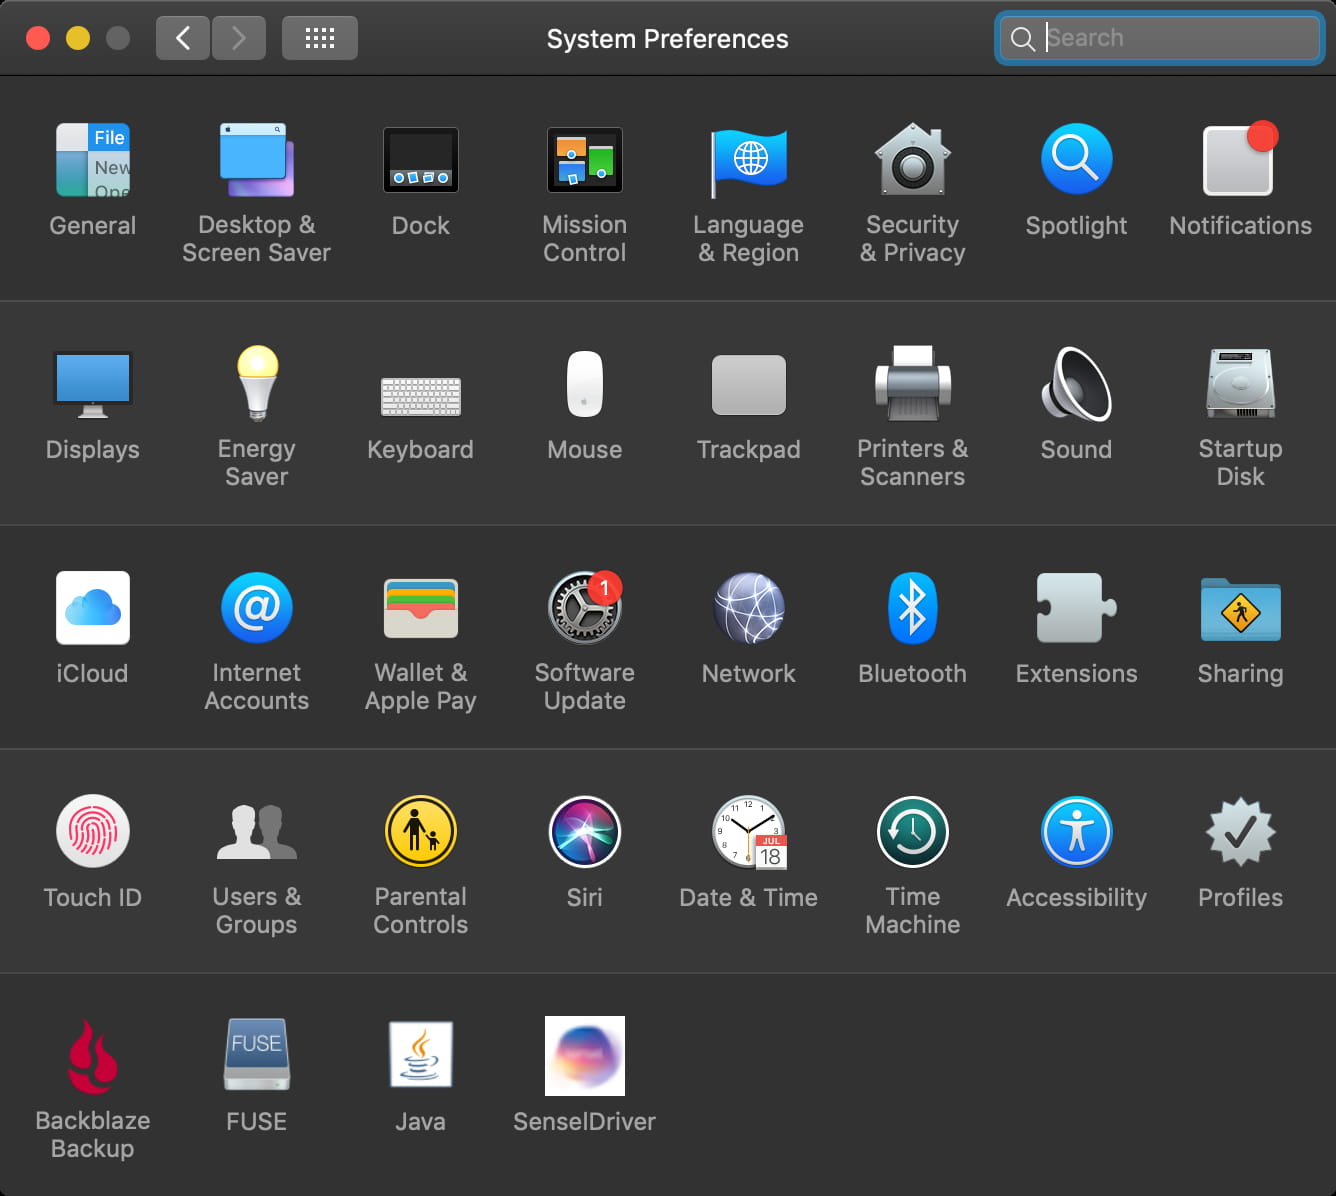
- System Preferences > General
- Dark Mode
- Show scroll bars: Always
- Default web browser: I use personally and recommend Choosy.app if you have more than one browser, otherwise Vivaldi or Firefox are both recommended.
- System Preferences > Date & Time
- Time options: Display the time with seconds (helps to see if your Mac is actually frozen if seconds stop updating)
- System Preferences > Security & Privacy
- Firewall: On
- Firewall Options: Enable stealth mode
- Change your Screenshots to save to a dedicated folder
- Create a folder on your Desktop called
Screenshots - Move all your Desktop
Screenshot ...pngfiles into that. - Cmd-shift-5 > Options > Other Location… > Select your new
Screenshotsfolder. - Magic, your Desktop now stays a bit tidier from all those screenshots!
- Create a folder on your Desktop called
- Create Aliases for all frequent folders on your Desktop with alt-cmd click & drag to Desktop.
- Use Right-click and coloured tags to distinguish between work, home and various projects by colour.
- Drag frequently used folders to your Dock, eg: Applications, Home, Documents, Downloads etc. Then, on each of them:
- Right-click > Display as: Folder
- Right-click > View content as: List
Optional recommended apps
You don’t need all these — but I recommend them. They do make my busy Mac-life a bit more pleasant, speedy and secure, as my favourites in each area:
- Firefox Nightly* (faster (go to Preference > Nightly Experiments > ✅ Web API: WebGPU), a more secure, private and optimisable open-source web browser)
- Tree Style Tab* (for a Vertical Tabs Sidebar, I prefer the Proton theme in the options)
- Vivaldi* (more secure, private and configurable Chromium-based web browser – I prefer the Vertical Tabs layout too)
- uBlock Origin* for Firefox & Vivaldi/Chromium (privacy & security also speed up your web browsing)
- LocalCDN* for Chromium (privacy & security also speed up your web browsing)
- LocalCDN* (privacy & security also speed up your web browsing)
- DarkReader* (protect your eyes and brain with dark-mode browsing)
- Enpass (password manager & two-factor authentication)
- Nimbus Capture (for screenshots & annotation, including confidential blurring)
- Language Tools* (open-source, and IMHO better alternative to Grammarly)
- Ulysses (for Markdown notes and used to publish this page)
- AppTamer (slow-down CPU-hog Apps from cooking your machine)
- Choosy (useful if you use multiple browsers)
- Tab Session Manager (for moving tabs in bulk from one browser to another)
- WebCatalog (web-apps)
- Backblaze (unlimited backups)
- FreeOffice / Softmaker Office (documents, spreadsheets & slides)
- Sync.com (secure file storage & sharing alternative to Dropbox)
- Wondershare Filmora (video editor with nice graphics)
- ScreenFlow (screencast video tutorials)
- Find more specialist apps on my extensive Tools page.
*Free (as-in freedom) Open-Source Software (FOSS) — is an ethical way to provide software services for; transparency, security, freedom, privacy, data-ownership, collaboration, developer credit & promotion — and simply good online citizen karma in return for the countless community projects you already benefit from that form the foundations a free and inclusive internet. wikipedia.org/wiki/Free_and_open-source_software
To follow my online adventures — with commentary on; creative technology, building a brand, ethical business, copywriting, ecommerce, blogging, SEO, data protection, privacy, and online security — find me on X.com…


